Unlock the physics of flavor. This comprehensive guide breaks down the 1:2 espresso ratio, explaining how to manipulate dose and yield for different roast levels and portafilter sizes.
Key Takeaways
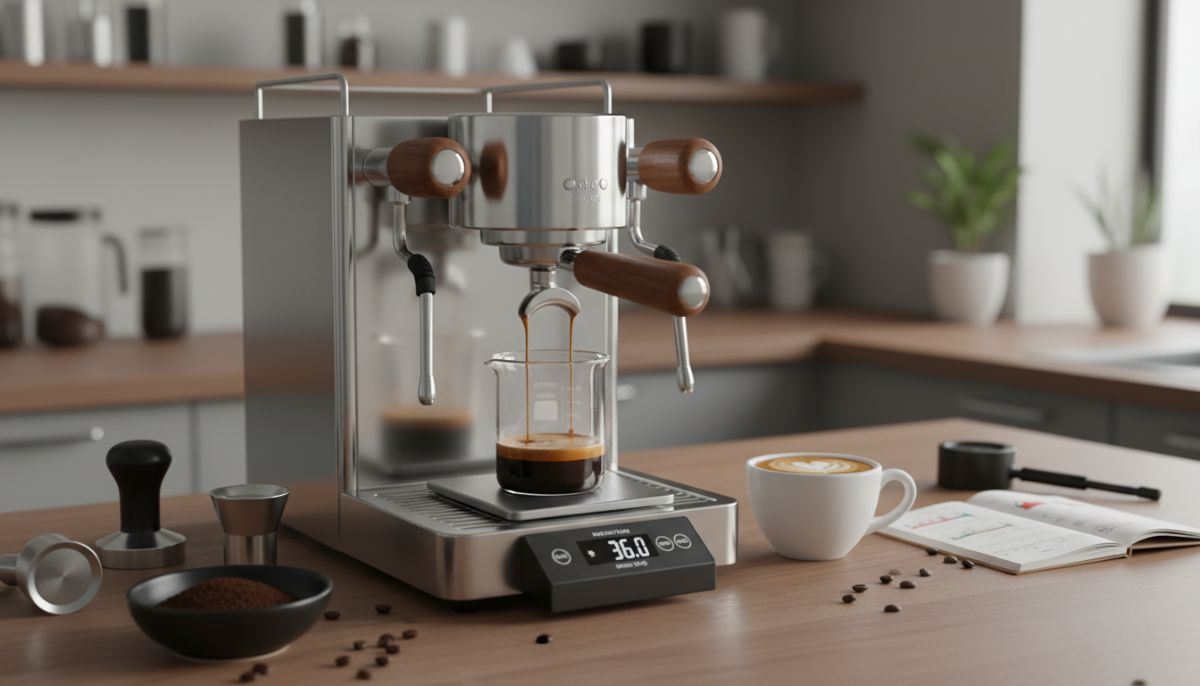
- The Golden Rule: The standard espresso starting point is a 1:2 ratio (e.g., 18g dry coffee to 36g liquid espresso).
- Flavor Physics: Changing the yield affects balance. Shorter ratios (1:1) emphasize body and acidity; longer ratios (1:3) emphasize clarity and bitterness.
- Roast Matters: Dark roasts require lower ratios and temperatures; light roasts need higher ratios to extract fully.
- Basket Size: Breville (54mm) and commercial (58mm) baskets require different dosing strategies.
Introduction: Why Your Espresso Tastes Inconsistent
The difference between a cafe-quality shot and a sour, undrinkable mess often comes down to one variable: the brew ratio. While grind size controls the flow resistance, the ratio—the relationship between the weight of dry coffee (dose) and the weight of the liquid in the cup (yield)—defines the flavor structure.
Many home baristas rely on timing alone, aiming for 25–30 seconds. However, time is an output variable, not an input. To achieve consistency, you must measure mass. This guide covers the mechanical and sensory details of mastering dose and yield.
Defining the Espresso Ratio
An espresso ratio is expressed as Input (Dose) : Output (Yield). If you dose 18 grams of ground coffee and extract 36 grams of liquid espresso, you have achieved a 1:2 ratio.
The Spectrum of Extraction
- Ristretto (1:1 to 1:1.5): A restricted shot. Thick body, intense texture, low clarity. Best for dark roasts with chocolatey notes.
- Normale (1:1.5 to 1:2.5): The standard espresso shot. Balanced acidity, sweetness, and bitterness. This is the baseline for dialing in new beans.
- Lungo (1:2.5 to 1:3+): A long shot. Thinner body, high clarity, higher extraction yield. Essential for modern light roasts.
Pillar 1: The Dose (Input)
Your dose is determined primarily by your hardware, specifically the filter basket size. Over-filling or under-filling the basket leads to channeling and uneven extraction.
58mm vs. 54mm Baskets
Commercial machines and E61 groupheads use 58mm baskets, which typically accommodate 18–22g of coffee. However, many home machines, such as the Breville Barista Express, use deeper, narrower 54mm baskets.
For a 54mm basket, a dose of 16–18g is usually the maximum limit. Forcing 20g into a 54mm basket eliminates necessary headspace, causing the puck to adhere to the shower screen. To understand how basket volume impacts extraction, read our guide on Headspace Explained.
Pro Tip: Lock in your dose first. If you decide on 18g, stay at 18g. Do not change this variable while dialing in grind size.
Pillar 2: The Yield (Output)
Yield is the weight of the liquid espresso. This is the most powerful lever you have to adjust flavor balance. You measure this using a digital scale under your cup while brewing.
Unless you are using advanced volumetric machines, you cannot rely on buttons to give you the correct water volume every time. Investing in a scale is mandatory for consistency. See our comparison of Smart Scales vs. Basic Timers to decide what gear fits your workflow.
Roast Level Strategies
A generic “1:2 in 30 seconds” recipe does not work for every bean. The roast level changes the solubility of the coffee.
Dark Roast Strategy
Dark roasts are highly porous and soluble. They extract quickly. If you run a large ratio, you will pull excessive bitter compounds and ash flavors.
- Target Ratio: 1:1.5 to 1:2 (Ristretto territory).
- Temperature: Lower (90°C / 194°F).
- Visuals: Thick crema, tiger striping.
Light Roast Strategy
Light roasts are dense and difficult to extract. They require more solvent (water) to dissolve the desirable sugars and fruit acids. A 1:2 ratio often results in a sour, saline shot.
- Target Ratio: 1:2.5 to 1:3 (Lungo territory).
- Temperature: Higher (96°C / 205°F).
- Resting: Fresh light roasts release high amounts of CO2. Refer to our guide on Coffee Roast Dates to understand when your beans are peak for brewing.
Step-by-Step: Brewing by Weight
- Weigh the Dose: Measure 18.0g of beans. Grind them.
- Prep the Puck: Transfer to the portafilter. Use WDT (Weiss Distribution Technique) to declump, then tamp firmly.
- Place the Scale: Put your cup on the scale on the drip tray.
- Tare: Zero out the weight of the cup.
- Start: Engage the pump and start the timer simultaneously.
- Stop Early: If your target is 36g, stop the machine at roughly 32–34g. The liquid usually continues to drip (approx. 2–4g) after the pump stops.
- Analyze: Check the final weight and time.
Troubleshooting by Taste
If you hit your 1:2 ratio in 30 seconds but the shot tastes bad, you must adjust based on sensory cues.
The Shot is Sour (Under-Extracted)
Sourness is sharp, grassy, or salty. It means the water did not dissolve enough sugar.
- Solution 1 (Ratio): Increase the yield. Turn that 1:2 into a 1:2.5. Pushing more water through the puck extracts more sweetness to balance the acid.
- Solution 2 (Grind): Grind finer to increase surface area and contact time.
- Learn More: Why Your Espresso Tastes Sour.
The Shot is Bitter (Over-Extracted)
Bitterness is dry, astringent, and harsh (like aspirin or burnt toast).
- Solution 1 (Ratio): Decrease the yield. Stop the shot at a 1:1.5 or 1:1.75 ratio. This cuts off the extraction before the bitter tannins dissolve.
- Solution 2 (Grind): Grind coarser to speed up the flow.
- Learn More: How to Troubleshoot Over-Extracted Espresso.
Recovering a Shot Mid-Brew
If the shot is running incredibly fast (e.g., you hit 36g in 15 seconds), do not dump it immediately. Let it run to a 1:3 or 1:4 ratio. By turning it into a long coffee (Allongé), you dilute the acidity, often saving the drink from being undrinkably sour.
Visual Cues (Brewing Without a Scale)
While we highly recommend a scale, knowing visual cues is vital for cafe workflow.
The Blonding Point: As extraction progresses, the stream changes from dark chocolate brown to a golden caramel, and finally to a pale, watery yellow. This pale yellow phase is “blonding.” It indicates that the sugars have been extracted and only bitter water remains. When the stream begins to blond and the cone shape of the pour collapses, cut the shot immediately.
Conclusion
Mastering espresso is not about adhering to a rigid formula; it is about understanding how dose and yield manipulate flavor. Start with a 1:2 ratio, but let your palate dictate the final adjustments. If the coffee is sour, stretch the ratio. If it is bitter, shorten it. Once you control the weight, you control the result.
Frequently Asked Questions
Dark roasts are highly soluble and prone to bitterness. A lower ratio, typically between 1:1.5 and 1:2 (Ristretto to Normale), works best to maximize body and sweetness while minimizing harsh, ashy flavors.
If a 1:2 ratio tastes sour, the coffee is likely under-extracted. This is common with light roasts. To fix this, try increasing the yield to a 1:2.5 ratio (e.g., 18g in, 45g out) to extract more sweetness, or grind finer to increase contact time.
No. You must place your cup on the scale and press the ‘tare’ (zero) button before starting the shot. You are only measuring the weight of the liquid espresso in the cup.
54mm baskets (common in Breville machines) are deeper and narrower than standard 58mm baskets. A standard dose for these is usually 16g to 18g. Avoid dosing 20g or more, as this reduces headspace and leads to uneven extraction.
You should stop the pump slightly before your target weight is reached. Espresso continues to drip from the portafilter after the pump stops. For a 36g target, stop the button at roughly 32g or 34g depending on your machine’s retention.