Move beyond the standard 9 bars. Learn how pressure profiling allows you to manipulate extraction, rescue difficult beans, and unlock new flavor dimensions in your home espresso.
Key Takeaways
- Beyond the 9-Bar Standard: Learn why dynamic pressure changes during extraction can create superior flavor compared to static pressure.
- Flavor Manipulation: Discover how to use low pressure to tame acidity in light roasts and declining pressure to reduce bitterness in dark roasts.
- Gear Requirements: Understand the difference between flow control modifications and machines built specifically for pressure profiling.
- Practical Application: Get step-by-step profile recipes to try at home, from the "Slayer" style to the classic Lever profile.
The End of the 9-Bar Dogma
For decades, the Golden Rule of espresso was absolute: apply nine bars of pressure for 25 to 30 seconds. If you deviated, you were doing it wrong. This standard was cemented by the invention of the electric pump in the mid-20th century, which brought consistency to a chaotic process.
However, the coffee world is evolving. We have mastered temperature stability and precision grinding. Now, the final variable to conquer is pressure.
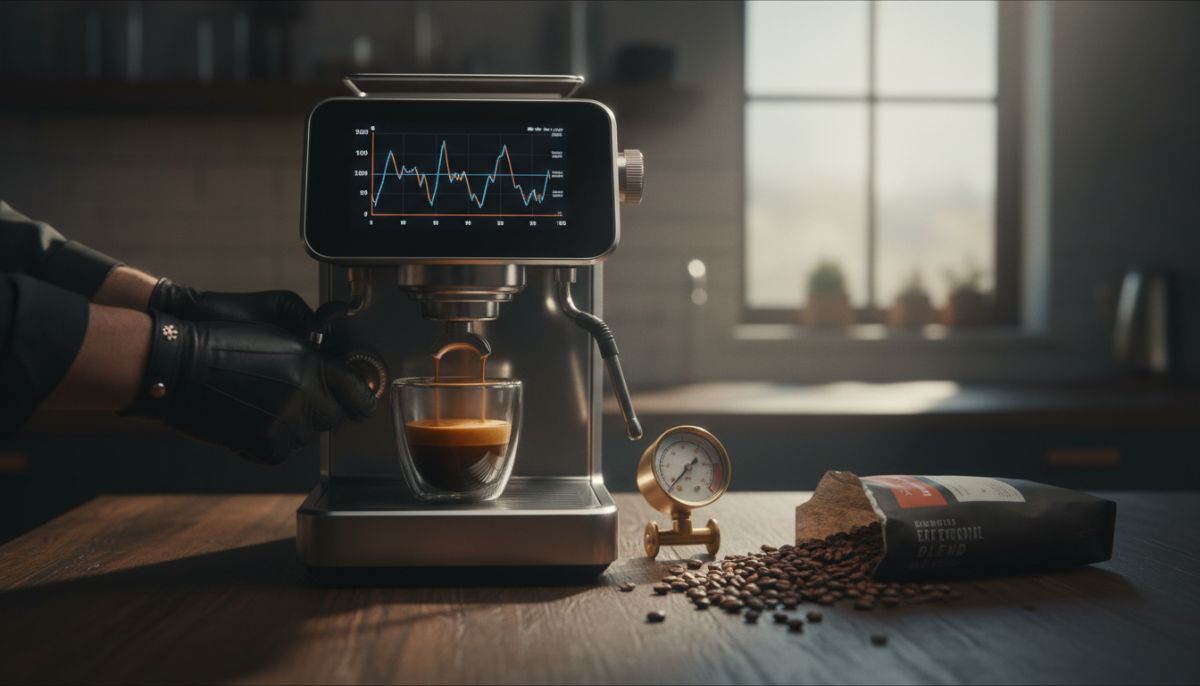
Pressure profiling is the act of varying the pump pressure throughout the duration of the shot. Instead of hitting the puck with a sledgehammer of water immediately, you might gently soak it, ramp up slowly, or let the pressure fade away at the end. This technique is widely considered the next frontier in home espresso, allowing baristas to salvage "impossible" beans and unlock flavor notes that static pressure simply cannot access.
What is Pressure Profiling vs. Flow Control?
Before diving into techniques, we must clarify the terminology. While often used interchangeably, pressure profiling and flow control are two sides of the same coin.
Pressure Profiling refers to manipulating the force the pump exerts. By changing the pressure, you inevitably change the rate at which water flows through the coffee.
Flow Control restricts the water path (usually via a needle valve). By closing the valve, you reduce the flow, which subsequently lowers the pressure built up in the basket.
Regardless of the mechanism, the goal is the same: changing how water interacts with coffee over time. For a deeper dive into the specific mechanics of valves, read our guide to flow control upgrades.
The Science: Why Change the Pressure?
Why bother complicating a process that is already difficult? The answer lies in extraction physics.
1. The Pre-Infusion Phase
Hiting a dry puck of coffee with full pressure immediately often causes fractures. Water follows the path of least resistance, leading to channeling. By starting with low pressure (2-3 bars), you allow the puck to saturate and swell gently. This fuses the grounds together, creating a solid cake that resists channeling.
If you have struggled with uneven extractions, understanding this phase is crucial. You can learn more about identifying these issues in our article on how to spot and fix channeling.
2. Taming Acidity and Bitterness
Pressure dictates how aggressive the solvent (water) is. High pressure extracts compounds rapidly. This is great for oils and body but can pull harsh acidity from light roasts or astringency from dark roasts.
By profiling, you can use a long, low-pressure soak to increase sweetness in a light roast. Conversely, tapering the pressure off at the end of a shot prevents the extraction of hollow, bitter compounds often found in the final seconds of a pull.
The History: Learning from Levers
Ironically, this "new" technology is actually a return to tradition. Before electric pumps, baristas pulled shots on spring-loaded levers. The spring would naturally exert maximum force at the start and gradually lose tension as the shot progressed.
This declining pressure profile is legendary for producing thick, syrupy shots with muted bitterness. Modern electronic machines are essentially trying to mimic what mechanical levers did naturally. If you are interested in the roots of this method, check out our piece on the rise of manual lever machines.
Gear: How to Profile at Home
Not every machine can profile pressure. Here is the hierarchy of equipment capable of this technique:
Manual Lever Machines
The original profilers. You control the pressure with your arm (direct lever) or a spring. This offers ultimate tactile feedback but a steeper learning curve.
E61 Flow Control Kits
Many standard E61 grouphead machines can be retrofitted with a flow control mushroom valve. This is a cost-effective way to enter the profiling game without buying a new machine.
Electronic Profiling Machines
High-end machines utilize gear pumps or complex bypass valves to automate profiles. You can program a "soft ramp" or a "declining curve" via a touchscreen. These machines often utilize advanced pumps. To understand the hardware under the hood, read about rotary vs. vibratory pumps.
Two Profiles to Try Immediately
If you have the gear, stop guessing and start with these two foundational profiles.
1. The "Slayer" Style Shot (Best for Light Roasts)
This profile mimics the famous Slayer espresso machines, known for extracting incredible sweetness from dense, light-roast beans.
- Phase 1 (Pre-Brew): Low flow/pressure (2 bars) for 15-25 seconds. Wait until the bottom of the basket is fully saturated.
- Phase 2 (Extraction): Ramp immediately to 9 bars.
- Phase 3 (Finish): Cut the shot abruptly when you hit your target yield.
Because the grind must be much finer for this long pre-infusion, you increase surface area and extraction yield significantly. This pairs well with flat burr grinders. See how grinder geometry affects this in our guide on flat vs. conical burrs.
2. The Declining Lever Profile (Best for Medium/Dark Roasts)
This profile maximizes body and minimizes the harsh finish often associated with darker roasts.
- Phase 1: Pre-infuse at 3 bars for 5 seconds.
- Phase 2: Ramp to 9 bars for the first 50% of the shot volume.
- Phase 3: Gradually reduce pressure down to 6 bars, then 4 bars as the shot finishes.
Dialing In: The Complexity Factor
Be warned: Pressure profiling adds a variable to the dialing-in process. When you change pressure, you change flow rate. This means your grind size will likely need adjustment.
A common mistake is changing the pressure profile and the grind size simultaneously. Change one variable at a time. Start with a standard ratio, get it tasting decent, and then apply a profile to refine it. For a refresher on the basics, revisit how to dial in espresso ratios.
Conclusion
Pressure profiling is not a magic wand that fixes bad coffee beans, but it is a powerful tool for the dedicated home barista. It allows you to shape the flavor of your espresso in ways that temperature and grind size alone cannot achieve.
Whether you are using a vintage lever machine or a modern dual boiler with a flow control valve, the goal remains the same: the pursuit of the perfect cup. Start experimenting with declining pressure profiles, taste the difference in mouthfeel, and enjoy the next frontier of home espresso.
Frequently Asked Questions
Yes. By altering pressure, you change how water dissolves different compounds. Low pressure tends to highlight sweetness and reduce channeling, while declining pressure can reduce bitterness in the finish.
It depends on the machine. Many E61 grouphead machines can be retrofitted with a flow control device. However, most standard appliance-grade machines cannot be modified for profiling.
Light roasts generally benefit from a long, low-pressure pre-infusion (often called a ‘Slayer shot’). This allows the water to fully saturate the dense puck before high pressure is applied, increasing extraction and sweetness.
Not necessarily. While 9 bars is the industry standard for speed and crema production, many delicious shots are pulled at 6 or 7 bars (Turbo Shots), or with pressure that declines from 9 down to 4 bars.
You don’t need a specific grinder, but a high-quality stepless grinder is recommended. Profiling often requires very precise grind adjustments, especially for long pre-infusion shots where the grind must be finer than usual.